There are several ways to get rid of mold and mildew on your home’s surface areas, such as walls and bathrooms. Even paper, cloth, and photographs can sometimes be saved.
Vinegar, Hydrogen Peroxide, Bleach, Baking Soda, and specific mold cleansers will kill mold. Surface mold is more easily removed than mold that appears in walls and cracks that are hard to reach. These areas will need to be handled by professional clean-up and hazardous chemical removal specialists.
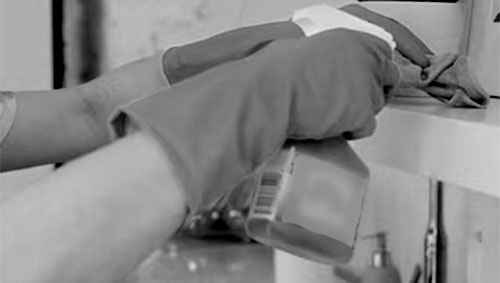
Solutions for cleaning mold on walls and tiles.
- If you are using a mold-specific cleanser, follow the directions on the bottle.
- Vinegar Recipe for getting rid of mold infestations:
Equal parts water and vinegar (plus a few drops of dish detergent) either in a spray bottle or in a bucket. Spray or wipe the area, then dry with a clean cloth. Discard cloths in the garbage after use to ensure the spores don’t come back. - Hydrogen Peroxide Recipe for getting rid of mold infestations:
Equal parts water and Hydrogen Peroxide (plus a few drops of dish detergent) either in a spray bottle or in a bucket. Spray or wipe the area, then dry with a clean cloth. Follow up with pure Hydrogen Peroxide and clean cloths for more serious mold. Discard cloths in the garbage after use to ensure the spores don’t come back. - Bleach Recipe for getting rid of mold infestations:
Equal parts water and Bleach in a bucket. Spray or dip a cloth in the bucket and wipe the area, then dry with a clean cloth. Use gloves to avoid bleach burns. Discard cloths in the garbage after use to ensure the spores don’t come back. Bleach can discolor an area, so test before you use it. Bleach is toxic if inhaled, so be wary of using it in a spray bottle. Make sure to use bleach in a well-ventilated area. - Always wear protective gloves and a mask over your mouth and nose when dealing with mold.
Please note: Absolutely never mix vinegar and bleach together, nor mix bleach and ammonia together. The fumes can cause death, and any area where this happens must not be entered for at least ten hours after ventilation. Vacate the area and call for professional help!
Removing Mold from Fabrics
Fabric can be soaked in pure vinegar or equal parts of vinegar and water before being laundered with soap to remove mold if the item is valued. Otherwise, discard it altogether.
Baking Soda and Vinegar kill different kinds of Mold.
For a liquid application to kill mold on walls and tiles, add a tablespoon of baking soda to 2 cups of hot water in a spray bottle. Spray the affected area. Take another spray bottle with equal parts vinegar and water (plus a few drops of dish detergent), spray the affected area, and wipe it off with a clean cloth to clean the area. Repeat as needed until the area is clean.
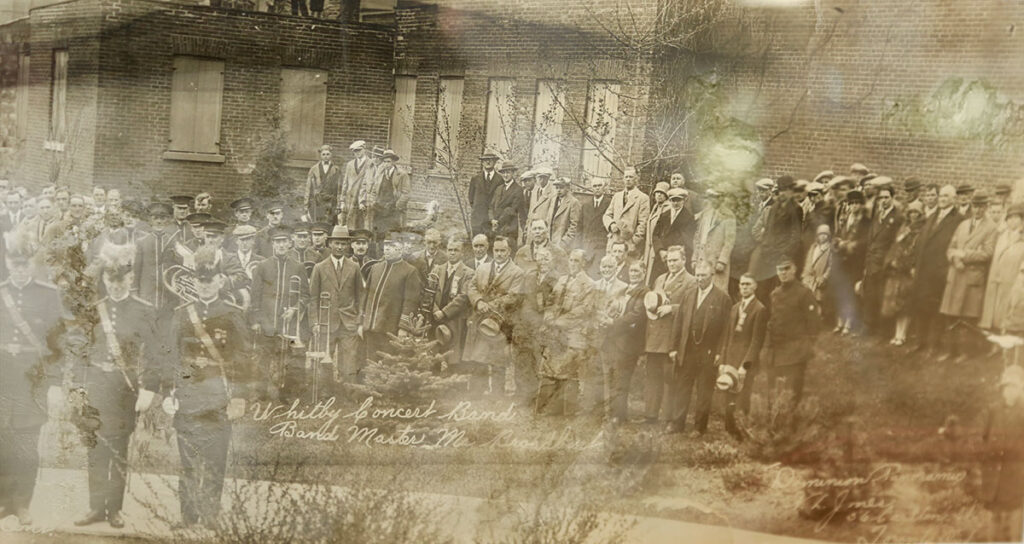
Remove Mold from Paper Items and Photographs
Baking soda can be used to remove minor mold or mildew from items that will be ruined if liquid is used. Items may have to be entirely discarded; however, for photographs and paper items that were of historical value, I have had good success treating them gently by sprinkling baking soda and letting them sit out and be exposed to the air on a porch out of reach of rain or other unused dry room or attic area for several days or weeks. Then, shake any excess baking soda off the items. On a dry day, take the items outside and gently remove the baking soda using a fine brush so as not to cause any abrasions. Sometimes, this process must be repeated.
For delicate photographs that have had mildew damage, take cotton and gently stroke the area to remove the mildew after applying baking soda. Make sure the photograph is completely dry.
Traditional Black-and-White Photo Development
Traditional black-and-white photographs have an emulsion on the surface of the paper, which captures the image when exposed to light and then darkroom chemicals.
In a photo room called a Darkroom, the process for black-and-white photograph development was to first expose the emulsion side of the paper (kept in a light-safe box) to light that was passed through a negative in a piece of equipment called a photo-enlarger for a few seconds. The dark room was equipped with a kind of orange low light that did not expose the paper to too much light. This allowed the photographer to see what they were doing. (Negatives were developed in total darkness).
Next, the exposed photo paper was placed in a chemical called the Developer for a few seconds to a minute or two until the desired darkness of the image was achieved. Then, in order to stop the image from growing darker, the paper was immediately placed in a second tray of solution called the Stopper to stop the development.
To fix the photograph to the paper so that the emulsion would not be affected by light any further, the paper was placed in a solution called the Fixer. Two Fixer baths were often used to ensure the image lasted for many years. This is why black-and-white images over a hundred years old exist today.
Next, the photo paper was washed in running water for at least one hour. This was to remove as much of any chemical residue as possible as if any was left on it, affecting the longevity of the paper and image on the emulsion. When washing several photographs at once by hand, the photographs were turned repeatedly so that clean water would reach all the areas. Photographs were then dried by hanging them gently on a clothesline with clothes hooks. This is a rudimental description of the process. Most old photographs of historic value were made in this manner.
This knowledge is useful when restoring photographs exposed to dampness and mold. Since photographs can withstand being submerged in water, sometimes you can gently use some water and vinegar mixture on cotton to remove the worst mildew. Usually, the mildew has eaten into the emulsion, so this process may result in peeling off more of the image area. So, the restorer has to judge each case individually. Using the dry baking soda technique is safer, but sometimes you need both procedures.
During parts of my career, when I worked as a photograph retoucher and restoration specialist, I came across many old photographs that people or museums wanted to save. It was always a stressful time as no matter how careful, there was always the chance of ruining the photograph further. Though touch wood, I was pretty fortunate to be able to save many an heirloom. As a precaution, I always took new photographs during the process. A copy is great, but the original is the original when it comes to old photographs.
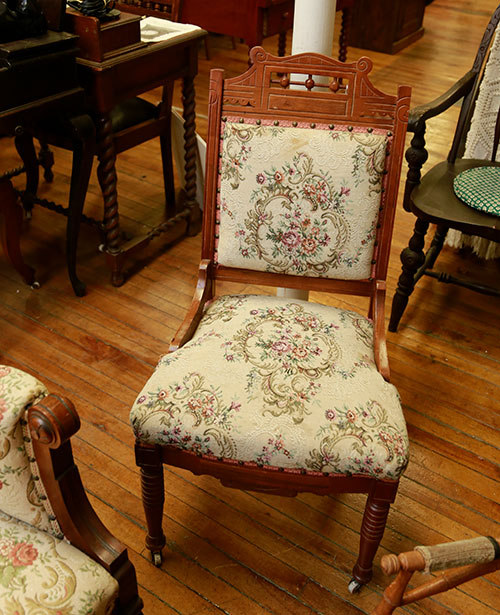
Cleaning Mold from Luggage and Furniture
Larger items, such as luggage or a chair that have been infected with mold or mildew, can be treated by spraying the item with pure vinegar and setting it outside in the sun to dry if the infection is not too severe.


